// VDS 7 “Renaissance”
The environment
The Visual DialogScript IDE: editor, debugger, project manager and Dialog Designer to build your interfaces visually.
Visual DialogScript has an integrated editor, debugger, compiler message window and project manager, as shown below.
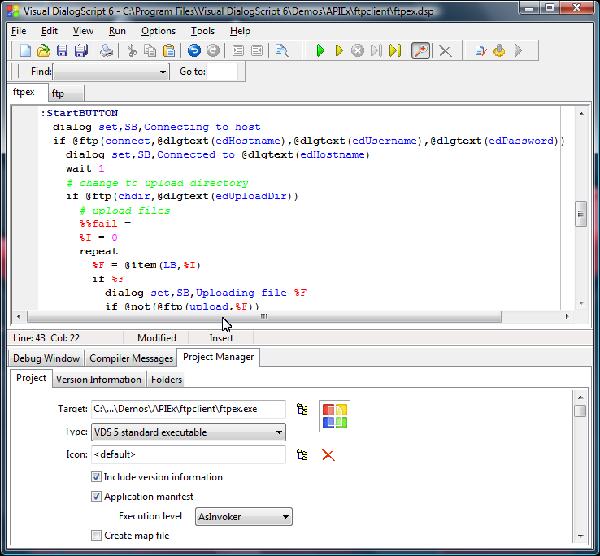
The development environment
The environment has three main sections.
- The toolbar / menu bar contains the menu items and toolbar buttons which you use to load, edit, save and test your scripts. Besides the usual file open/save, cut/copy/paste and find/replace options there are a set of VCR-like buttons to execute scripts, halt and resume them, and step through one line at a time.
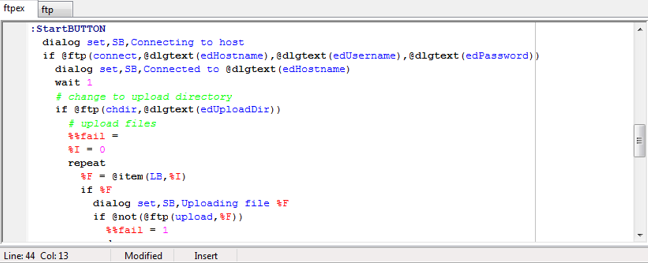
- The editor window is where you enter and edit your scripts. When you are debugging a problem script you can see the line being executed highlighted. A right-click context menu provides instant access to context-sensitive help, and lets you set and remove breakpoints at the cursor location. It also allows more than one file to be opened.
The extra tools section offers a debug window. You use it if you have a more difficult troubleshooting problem. It shows the value of all the script variables at the time the script stopped running. When used in conjunction with the single-step debugger function it enables you to see exactly what your script is doing. Compiler messages let you see if there are any errors while trying to compile your script. The project manager allows you to set your includes, resources, version information, where to put the resulting exe file and what icon to use.
The Dialog Editor
If you want a dialog box interface for your script then you can use the dialog editor to design it interactively, dragging and resizing components with the mouse, and seeing the results as you go along. The dialog editor generates DialogScript commands which are pasted into the script code.
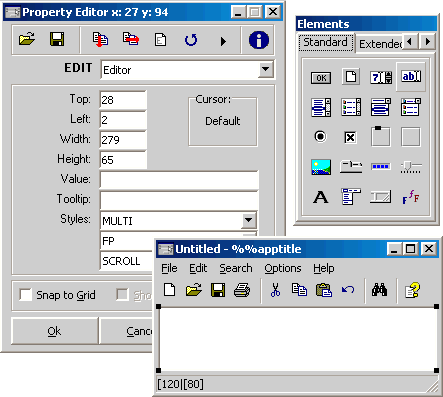
The dialog editor has three windows: the editor window, the elements bar and the dialog being created.
- In the editor window (1) you can see the element title, its position and size, followed by a list of all its properties that define how the element should look and react on your dialog box. Other elements can be viewed using the drop-down box at the top.
- On the elements bar (2), all the available elements are at your beckoning. Just move your mouse over the element you desire, click on it, then move your mouse over to the dialog box you are creating, and click where you would like that element to be placed.
- In the dialog window (3) the selected element is shown by the presence of sizing handles. Dialog elements can be placed and sized either by dragging on these with the mouse, or by typing values and text into fields in the editor window.
The dialog editor is a two-way tool. From the code editor window you can place the cursor in the first line of a dialog definition and the dialog will be loaded into the editor, ready for editing. When you are finished, the amended dialog definition is automatically inserted back into the script code.
Build it with VDS 7.
The full IDE + language. Windows & Linux · 32/64-bit · Unicode.